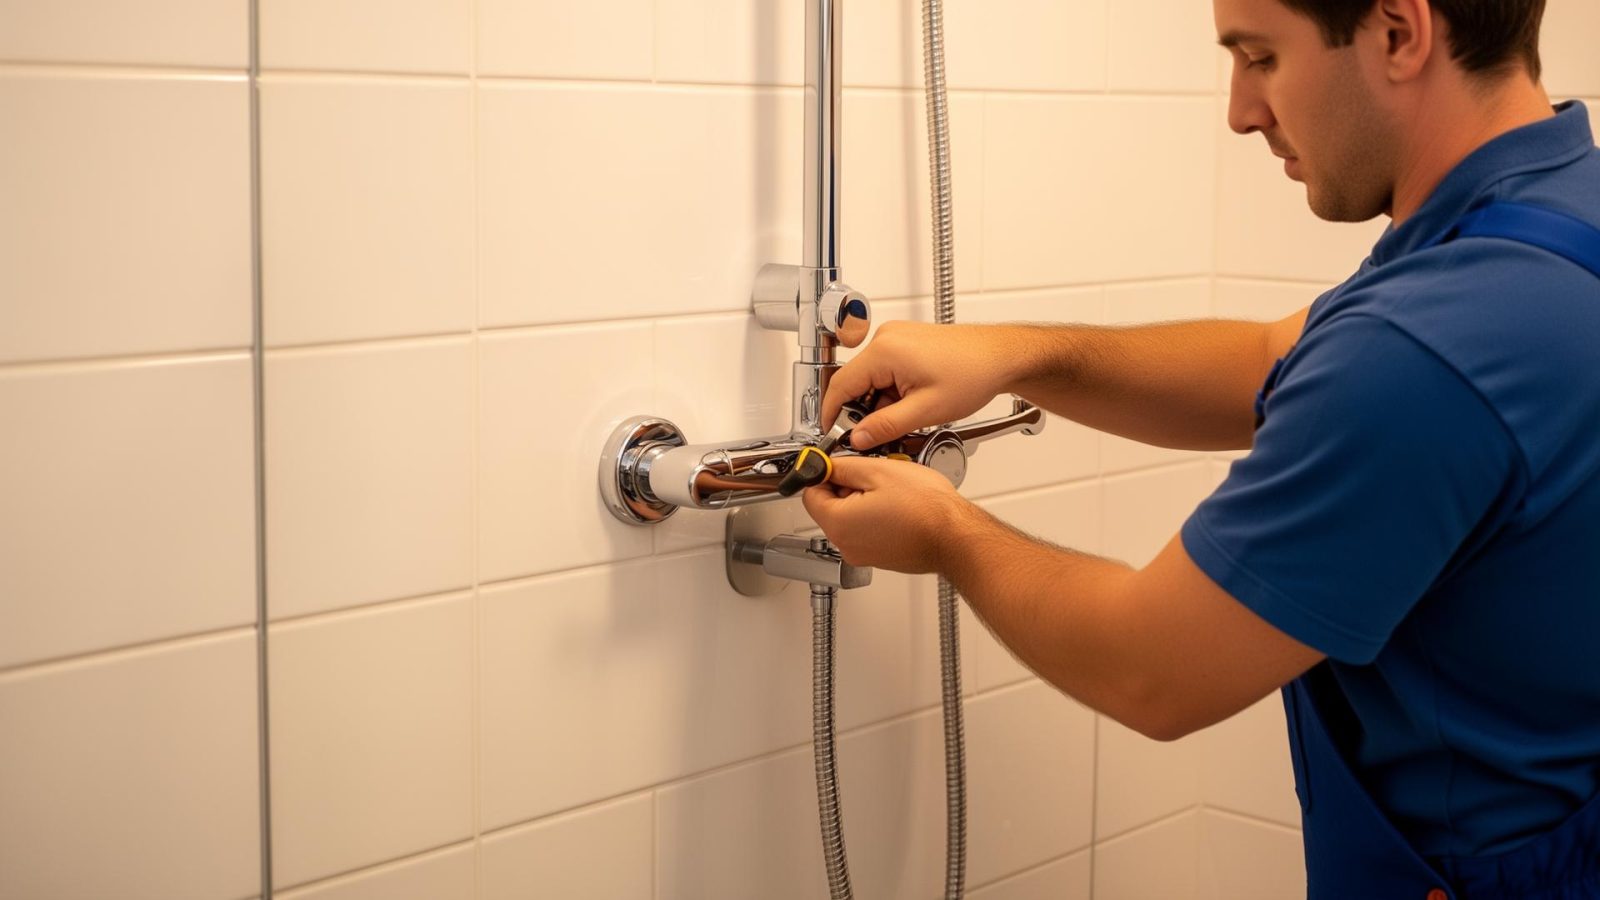
Shower Installation
Quality shower installation built to last. Red Seal Certified with workmanship guaranteed and upfront pricing.
We handle everything from simple shower valve upgrades to full custom shower installations, including tile and prefab units. A new shower installation can create a stylish and functional bathroom space, tailored to your needs and budget. No guesswork, no shortcuts, no headaches. Before you decide on your new shower, here's what you should know about how a proper installation should work. Choosing the right materials and properly measuring the space are essential first steps to ensure a professional and long-lasting shower installation.
Why Proper Shower Installation Matters
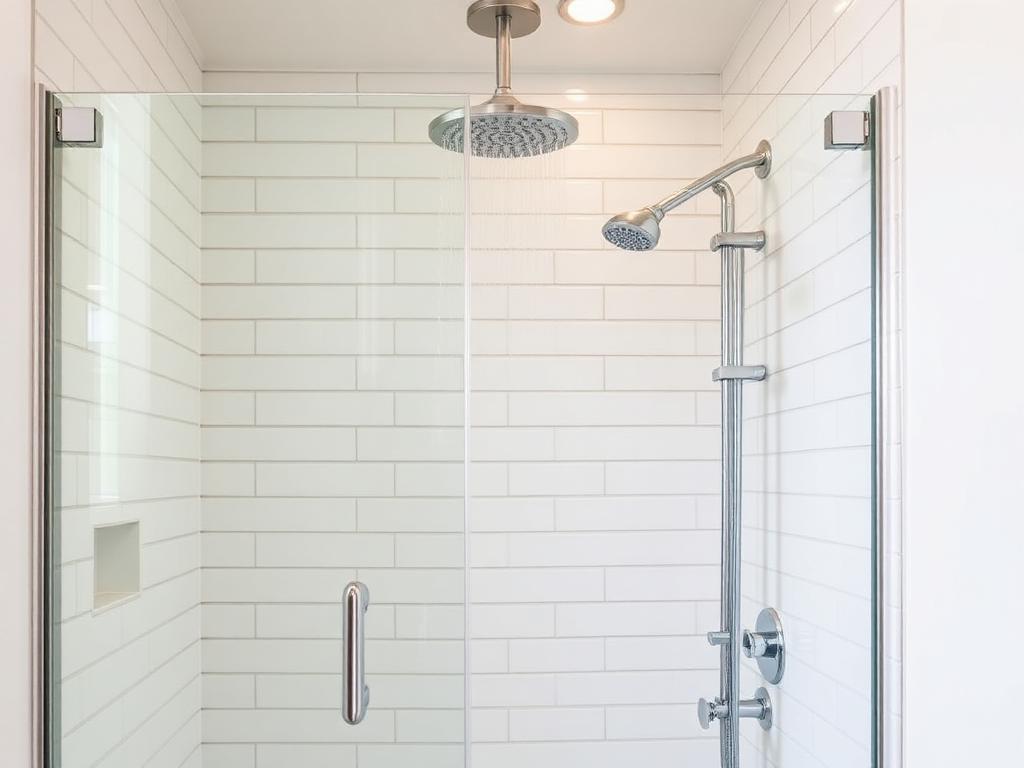
A shower isn't just fixtures and tile. Behind the walls is a full system of plumbing, waterproofing, framing, and valves that must work together. Improper installation can lead to water damage and mold, which is why it's critical to use a waterproof membrane or barrier system behind the wall material and under the shower pan to prevent water damage.
When even one part is installed wrong, major problems can start. It's essential to seal all seams and corners with a waterproof membrane or barrier system to prevent leaks and ensure the area remains watertight.
The Hidden Risks Behind Old Showers
Slow Leaks and Moisture Damage
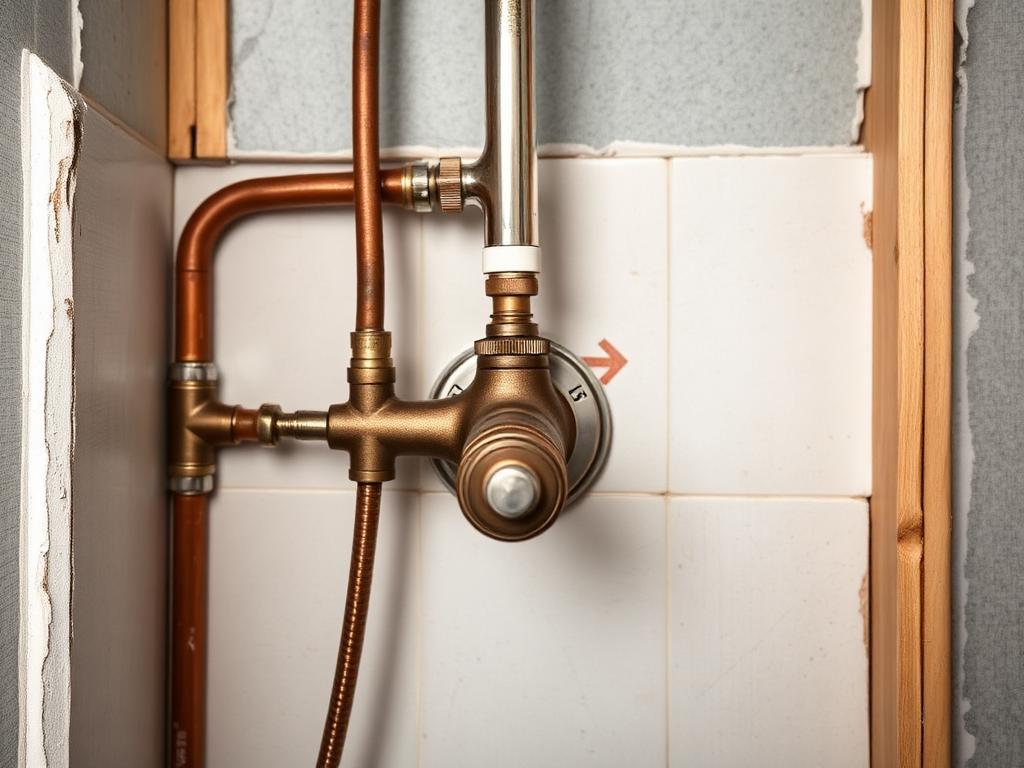
Many older showers leak behind the wall long before the homeowner notices. By the time it shows, the damage is already done. Wet framing, soft floors, mold, and rotten backing are extremely common.
Mold Growth Behind the Tile
Tile and grout are not waterproof. If a proper waterproof membrane was never installed, water will seep through the grout lines and into the walls. This is one of the biggest reasons we rebuild showers that are only a few years old.
Comfort, Safety, and Everyday Performance
A correctly installed shower should give you the items below. Shower valves are required to be pressure-balanced or thermostatic-mixing to prevent scalding, with a maximum hot water temperature of 49°C (120°F). Thermostatic control is a focus in modern shower installations to enhance comfort and safety by maintaining constant temperatures. These details are controlled by what's inside the walls. That's why choosing the right installer matters more than choosing the right showerhead, ensuring both comfort and functionality.
Why Homeowners Choose DJ Plumbing & Heating Service
We bring more than 30 years of hands-on shower installation experience to every job. Our focus is simple: do the work properly, protect your home, and leave no trace behind. We provide a seamless and convenient shower installation experience for homeowners, ensuring every detail is handled smoothly from start to finish.
Professional, Detail-focused Installation
We take great pride in getting things right, including valve depth, pipe placement, and full waterproofing checks. Before applying any waterproofing membranes, we ensure the area is thoroughly cleaned to prevent issues during installation. We always follow the manufacturer's instructions, especially when applying waterproofing membranes and paying attention to corners and seams to ensure proper waterproofing and prevent leaks. We don't rush through installs and we don't cut corners.
Clean and Respectful Work
We treat your home like it's our own. Floors get covered, walls protected, tools organized, and the workspace stays clean from start to finish.
Clear and Upfront Pricing
No surprise fees. No upselling. You approve the plan before we start.
Workmanship Guarantee
If something we installed fails due to workmanship, we fix it.
Types of Showers We Install
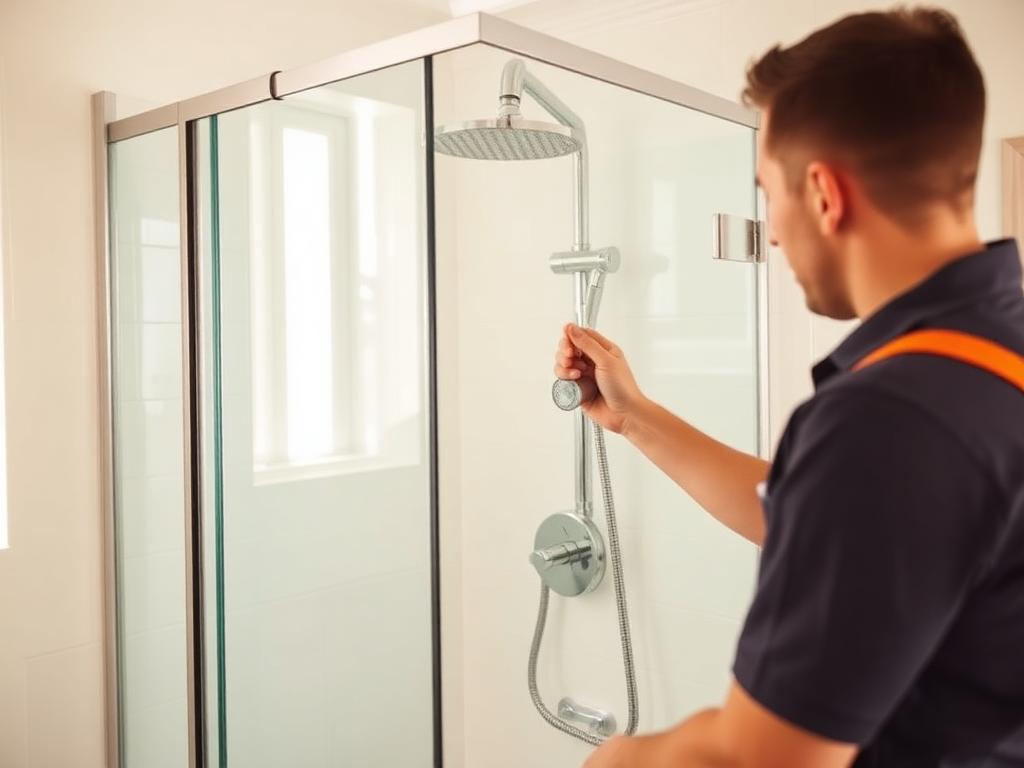
Every home and bathroom layout is different, and there are many shower options to suit your needs. We install all major shower styles. Standard showers are the most common type, typically featuring a showerhead, controls, and a shower enclosure or curtain.
Standard Shower Types
An accessible shower remodel with a low-threshold, walk-in design is perfect for all ages and mobility needs.
- Walk-in showers (also known as curbless showers) offer a sleek, modern look and improved accessibility
- Low-threshold showers for easy entry
- Tub and shower combination units
- Custom tile showers
- Prefabricated acrylic and fiberglass units
- Roman showers: luxurious, open-concept spaces inspired by ancient Roman baths, typically featuring multiple showerheads and bench seating
Shower Valves and Controls
We install and replace all types of shower valves, including:
- Pressure-balanced valves
- Thermostatic valves
- Single-handle mixers
- Multi-function diverter valves
- Rainfall and handheld combinations
Safety and Accessibility Features
For aging parents or anyone who needs safer access:
- Grab bars
- Handheld showerheads
- Non-slip bases
- Built-in seating
- Low-step or curbless entry options
Brands We Trust and Recommend
We use brands that perform well in Lower Mainland homes and have strong long-term parts support.
Common Brands We Work With





Moen
Reliable, easy to repair, and parts are always available.
Delta
Great for water pressure and smooth valve operation. Easy to maintain and service.
Kohler
Modern designs with solid build quality and a wide range of style options to suit any bathroom aesthetic.
Grohe and Hansgrohe
High-end European performance. Great for rain heads and thermostatic systems.
Riobel
A Canadian favourite with excellent valves and parts availability.
Brushed nickel and warm metals like brushed gold are preferred for metal finishes in modern shower designs, as they provide a softer aesthetic.
Brands We Avoid
We do not install cheap, no-name valves from online marketplaces. They often fail early, lack replacement parts, and can require opening the wall again when they break.
Our Shower Installation Process
We show up on time, cover all floors and nearby walls. Tools stay organized, and we isolate the work area to control dust and debris. Before starting, we measure the floor space and shower opening to ensure compliance with the minimum shower size of 30 x 30 inches and at least 24 inches clearance in front of the shower, as required by building codes and for accessibility.
We verify all parts are correct and compatible before starting any work.
We remove old trim, valves, or fixtures carefully to avoid damaging nearby tile. If fittings are corroded or seized, we handle it safely. If we discover hidden issues, like rotted backing or wrong-sized piping, we explain the fix before moving forward. Before installing the new shower pan, we dry-fit it to confirm it aligns with the drain and is level, ensuring a minimum slope of 1/4 inch per foot toward the drain to prevent water pooling.
We set the new valve at the correct depth, brace all water lines so they stay solid, and check waterproofing around the shower. If waterproofing is missing or failing, we correct it before installing any fixtures. We use a waterproof membrane or barrier system behind the wall material and under the shower pan, sealing all seams and corners to prevent water damage.
We connect all lines, tighten all fittings, set the trim, align the handles, install the diverter, and mount any accessories like handheld brackets or slide bars. For shower walls, we can use panels such as acrylic or fiberglass as a cost-effective alternative to tile. If tiling, we use tiles specifically rated for shower use. Installing a shower bench can add comfort and style to your new shower.
Every shower is tested like it's going into our own home. Attention to detail in the finishing touches will enhance the shower's overall appearance and functionality. We check:
- Cold and hot water flow
- Temperature limits
- Pressure stability
- Leak points at every connection
- Drain performance
- Moisture behind the wall using a meter
We sweep, vacuum, wipe down the fixtures, remove all protective coverings, and clean the work area thoroughly after installation. Then we walk you through the new shower and explain how to use the controls, how to maintain the valve, and what to expect in the first 24 hours.
Tip: The most affordable way to create a shower is to use a simple design, cost-effective materials like acrylic or fiberglass panels, and opt for a shower curtain instead of a glass or acrylic enclosure. DIY installation can lead to substantial savings if you have the skills, and comparing prices from various suppliers helps you find the best deals.
Problems a Proper Install Prevents
When a shower is installed properly, you avoid the issues below. Most of the problems we fix come from poor work done by DIY installations, handymen or rushed installers.
Extra Work Often Completed During a Shower Install
Sometimes it makes sense to upgrade or add components while the shower is open to enhance its functionality or appearance. Common extras include the items below. We only recommend extras that provide real long-term value.
Case Study: Shower Pan Repair
A homeowner hired a handyman who built a shower pan with no slope. Water sat at the bottom and leaked into the subfloor. We removed the damaged mortar, rebuilt the slope, waterproofed the area properly, and installed the new base. After the fix, the shower drained fast and stayed dry.
Case Study: DIY Enclosure Gone Wrong
A customer attempted a DIY installation of their shower enclosure, which can save money if done correctly but carries risks if not properly executed. In this case, they bought parts that didn't match the valve system and skipped waterproofing. We removed the enclosure, waterproofed the walls, installed the correct valve, and reassembled everything. The shower now works like it should and is protected behind the tile.
Case Study: Hidden Damage Behind Old Trim
During a valve upgrade, we discovered corroded galvanized pipes dripping behind the wall. We replaced the piping with PEX, rebuilt the backing, and installed a modern valve. The customer was relieved knowing the leak was stopped before causing more damage.
What Customers Appreciate Most
From homeowner feedback, these are the things customers mention over and over. We make the experience easy, straightforward, and dependable.
Some parts of a shower upgrade can be DIY friendly, like changing a showerhead. But anything inside the wall should be done by a professional. It can be recommended to opt for a contractor when the installation involves plumbing, electrical work, or waterproofing, to ensure quality and safety.
When DIY May Be Fine
- Replacing an exposed shower arm
- Swapping a trim kit (if compatible)
- Changing a showerhead (selecting a basic or standard shower head is a cost-effective DIY upgrade that maintains functionality and can be easily upgraded later)
When a Professional Is Critical
- Replacing a valve
- Repairing waterproofing
- Installing a new base
- Reworking drains or traps
- Installing a new enclosure
- Dealing with older plumbing
Risks of Hiring a Cheap Handyman
People often call us after a cheap job has already failed. The most common problems are the items below. A shower is one of the worst places to cut corners.
Frequently Asked Questions
Get a Free Quote Today
Fill out the form below and one of our team members will contact you within 2 hours during business hours.
Why Request Service Online?
Fast Response
We respond to all online requests within 2 hours during business hours.
Upfront Pricing
Receive a detailed quote before any work begins—no surprises.
Flexible Scheduling
We'll work around your schedule to find a time that works for you.
Plumbing Services Service Areas
We proudly provide plumbing services in:
Ready for a New Shower?
If you want a shower that feels great, works properly, and is built to last, we're here to help. Call or text (778) 227-1119 today to book a quote and start your shower installation project.