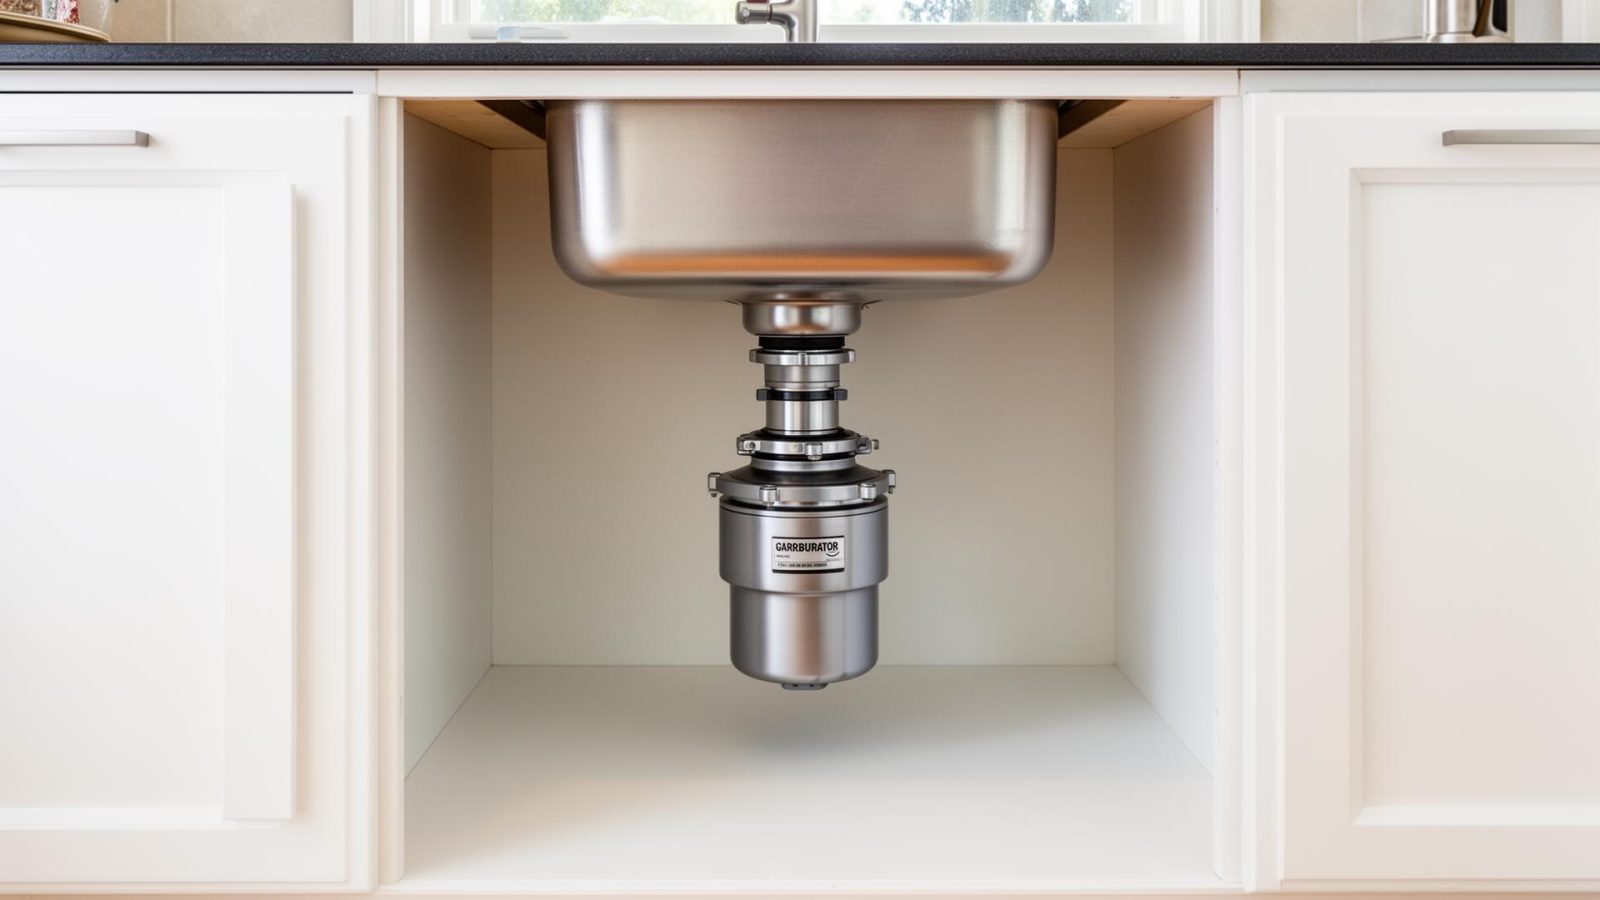
Garburator Repair
Fast, safe garburator repair for homes and condos across the Lower Mainland.
Garburator Repair Services
A broken garburator is more than a small annoyance. It can leave you with a backed-up sink, bad smells, or even hidden leaks that rot out the cabinet under your kitchen sink. Garburators are an important kitchen appliance, and regular maintenance and repair are essential to keep these appliances running smoothly and to prevent common plumbing issues.
DJ Plumbing & Heating Service has been repairing garburators for over 30 years. We understand how these units are supposed to work, where they fail, and how to fix them properly so the problem does not come back. We also give straight advice on when a repair makes sense and when you are better off putting your money into a new unit instead of chasing an old one.
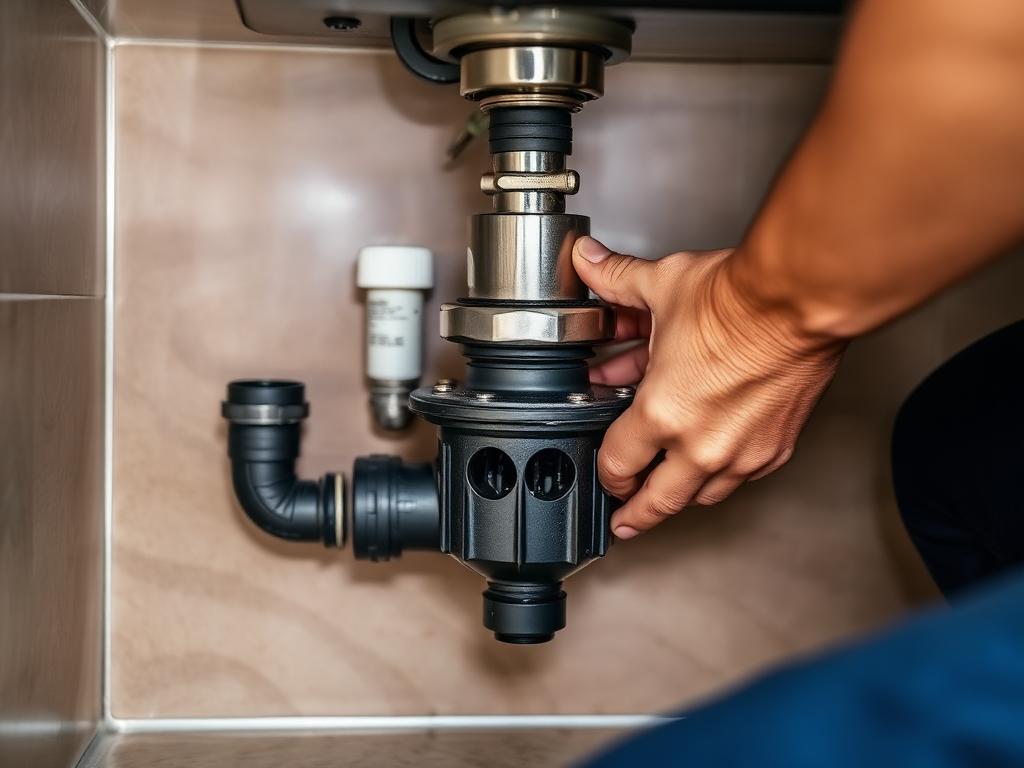
If your garburator is humming, leaking, dead, or just acting strange, we can help. Our licensed plumbers provide fast, reliable service for garburator repair, installation, or full replacement as needed.
Why Homeowners Choose Us
Red Seal Certified
Licensed journeyman plumbers with over 30 years of experience
Fast & Reliable
Same-day service when available, honest diagnosis every time
Guaranteed Work
Clear pricing upfront with a workmanship guarantee
Common Garburator Problems We Repair
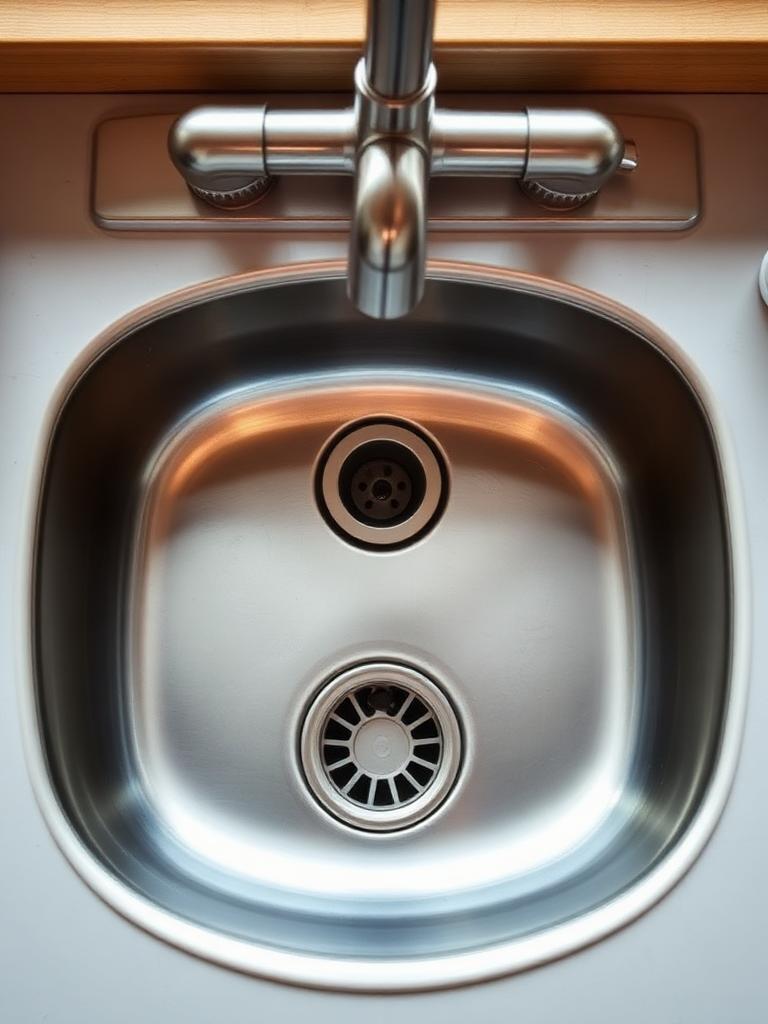
Garburator not working, humming, leaking or smelling bad? These are common garbage disposal problems that can result from regular wear and tear, improper use, or electrical connection problems.
Garburator Hums but Does Not Grind
This is one of the most common calls we get. You flip the switch, you hear a hum, but nothing turns. Most of the time this means the internal plate is jammed. A piece of cutlery, a fruit pit, fibrous food like celery or onion skins, or even a small stone can get stuck between the spinning plate and the grind ring. We free the jam safely from the bottom of the unit using the proper hex key, check the plate and grind ring for damage, and make sure the motor still runs smoothly. If there is deeper internal damage, we tell you clearly and explain the options.
Garburator Will Not Turn On At All
No hum, no noise, nothing? That does not always mean the unit is dead. If the unit does not make any sound when switched on, it likely tripped its internal breaker or lost electrical power. In one condo, the homeowner was sure the garburator was broken and ready to replace it. After testing, we found the wall switch had failed, not the unit. An electrician replaced the switch and the garburator ran like new. This is why we always test the power and controls before recommending a new unit.
Leaking Under the Sink When the Garburator Runs
Leaks can come from different spots, and each one tells a different story. We see a lot of older builder grade units that are rusted out at the drain neck; they only leak when the garburator runs, so the problem can go unnoticed for a long time. If the leak is from the top or the side, we can often repair it. If the leak is from the body of the unit, replacement is usually the only smart option.
Slow Draining or Backed-Up Sink After Using the Garburator
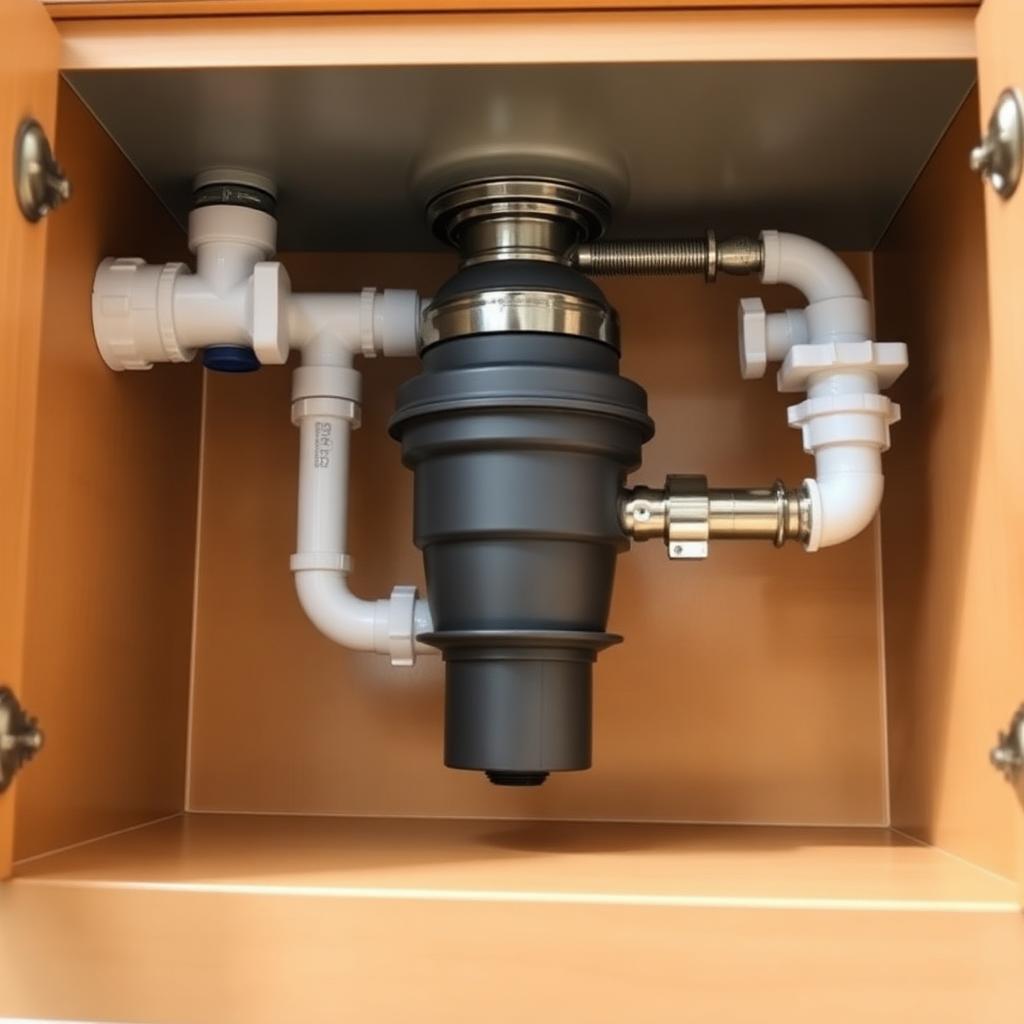
If you run the unit and the sink fills up or drains very slowly, you may be dealing with a clogged drain, not just a disposal problem. We do not just push the reset button and leave. We check the P-trap and downstream piping and clear the lines properly so waste can get all the way out of the system, not just out of the garburator.
Loud, Grinding or Rattling Noises
You know what your garburator normally sounds like. If you start hearing a loud rattle, metal on metal grinding, or strange clunking, something is wrong. We shut the power off, inspect the chamber, remove any foreign items, and assess damage to the grind parts. If the bearings or internals are destroyed, we explain why and what replacement will involve.
Persistent Bad Odours From the Garburator
A bit of smell now and then is normal. A strong, constant rotten smell is not. We can clean the garburator, flush the drain line and show you simple tricks you can use to keep smells away, like using ice and citrus peels. If the odour is coming from deeper drain issues, we explain that clearly.
Why Garburators Fail
Failure causes most homeowners never think about.
Most people think a garburator is a mini trash can in the sink. It is not. It is designed for small, soft food scraps only. The wrong food and bad habits are behind most failures we see. Proper care and regular maintenance are essential to prevent problems and can significantly extend the life of your garburator.
Foods That Quietly Destroy Garburators And Drains
Starchy foods
Pasta, rice, potatoes and oatmeal swell and turn into glue in the pipes
Fibrous foods
Celery, onion skins, corn husks, pumpkin guts and banana peels wrap around the internal parts
Coffee grounds and eggshells
Coffee builds up like wet sand. Eggshell membranes tangle inside and catch other debris
Hard items
Bones, fruit pits, nuts and popcorn kernels are rough on the grind ring and motor
Fats, Oils And Grease
Fats, oils and grease are the number one enemy. Hot water does not wash them away, it just lets them travel further down the line before they cool and harden. We always explain to customers that grease belongs in the garbage, not the garburator.
Not Enough Cold Water And Overloading The Unit
Your garburator needs plenty of cold water to move ground waste all the way through the drain. We recommend turning on cold water, running the garburator, feeding food slowly, then letting the water run for at least 15 to 20 seconds after you switch the unit off.
Age, Rust And Worn Seals
Most garburators have a reasonable lifespan. Past that, you start to see problems. If your unit is older and is starting to leak or trip often, it is usually better to invest in a newer, more reliable model.
DIY And Handyman Mistakes
We repair a lot of issues that started with a quick install by a handyman or a DIY attempt. A garburator ties together water, electricity and drainage. When one of those is wrong, the whole system suffers.
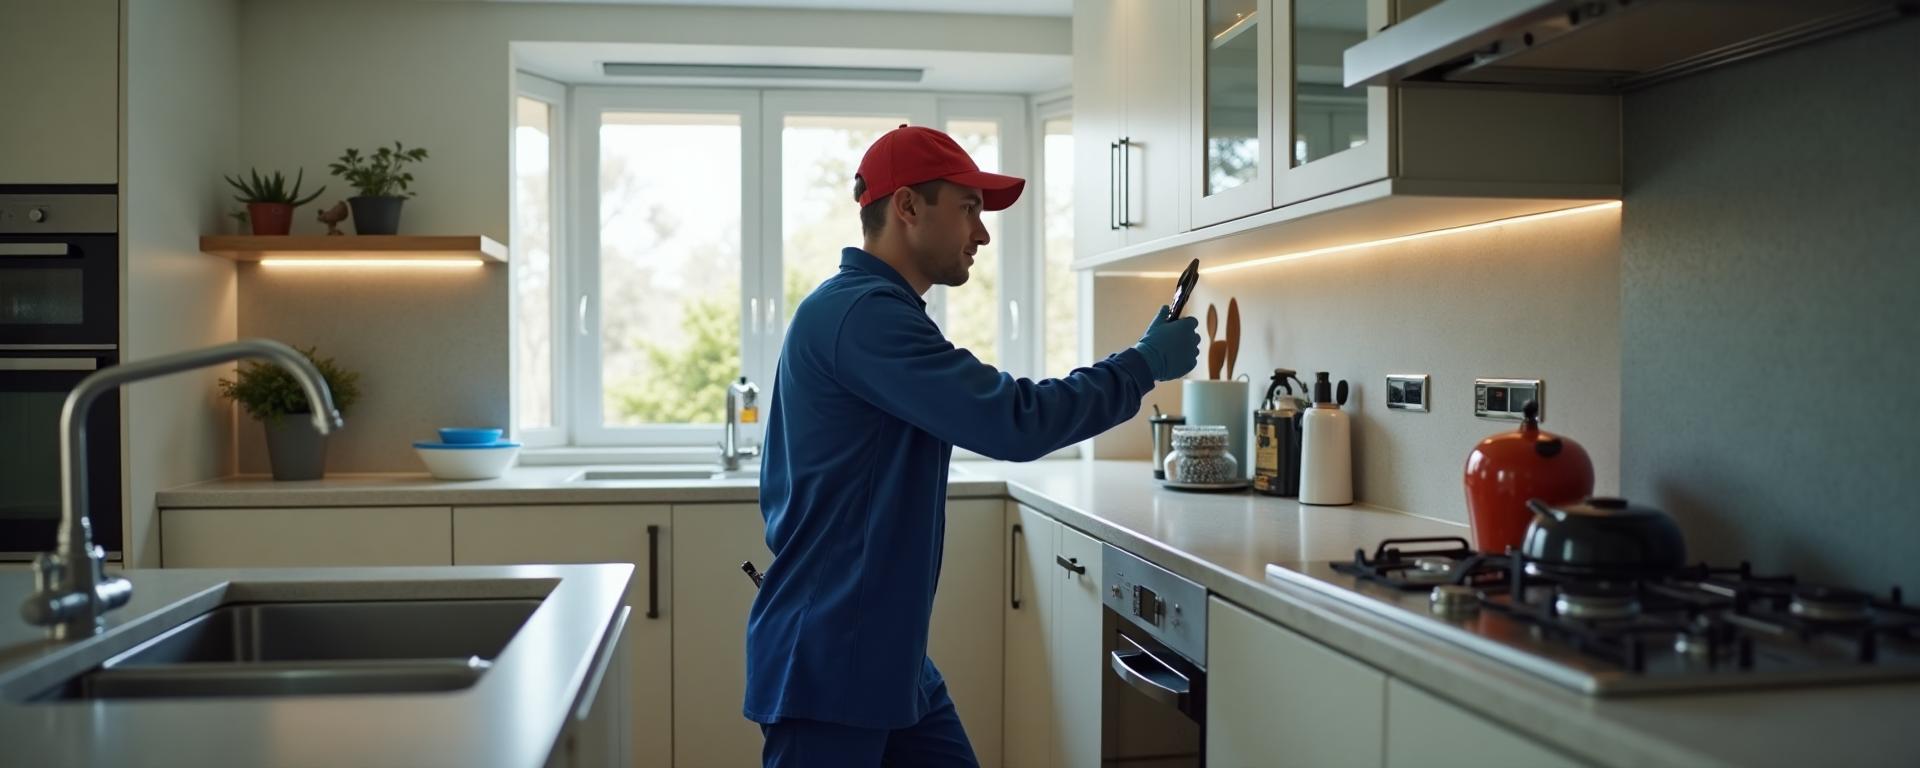
Our Garburator Repair Process
Before attempting any garburator repair, always unplug the unit or disconnect the power supply at the panel. This helps us go straight to the likely cause.
- What does it do when you flip the switch
- Any humming or no sound at all
- When did you first notice the problem
- Any recent clogs, leaks or strange smells
Before pulling anything apart, we check the basics. That is how we find problems like the condo with a bad switch, where the customer was ready to replace the garburator, but the unit itself was fine.
- Reset button on the unit
- Breaker at the electrical panel
- Wall switch function
- Power at the outlet if it is plugged in
If the unit hums but does not spin, we free the flywheel with the correct hex key. We never stick hands inside a garburator, and we do not expect you to either.
- Inspect the garbage disposal unit with a light for obvious objects
- Use the correct hex key on the bottom to manually free the flywheel
- Remove any foreign items safely
- Check for cracked or loose internal parts
If there is a backup or slow drain, we look beyond the unit. This is where we fix problems that cause repeated clogs rather than just resetting the unit and leaving.
- Check the P-trap for packed food and sludge
- Clear the trap and nearby piping as needed
- Rebuild or reconfigure the trap if it was installed wrong or at the wrong height
For units that are totally dead, we test for power and check the switch leg, circuit, and wiring.
- Test for power at the outlet or junction box
- Check the switch leg and circuit
- Inspect visible wiring for damage or heat marks
Once repairs are done, we run and check everything, then clean up our work area so your kitchen looks like it did before we arrived, or better.
- Run cold water and operate the unit several times
- Check all connections for leaks
- Listen for smooth operation and normal sound
When your garburator stops working, it can be difficult to know whether repair or replacement is the best option. We assess the age, condition, and type of garburator, as well as the nature of the problem, to help you make an informed decision.
When A Garburator Can Usually Be Repaired
We normally recommend repair when:
- The unit is fairly new and in good shape overall
- The problem is a simple jam or clog
- There is a small leak at a gasket, not from the body
- The issue is a reset, breaker or switch problem
In these cases, a proper repair is usually cheaper and keeps you going for years.
When Replacement Is The Best Choice
We usually recommend replacement when:
- Water is leaking from the body or bottom of the unit
- The housing is rusted through
- The motor is burned out or seized
- The unit is old and keeps having problems
If your garburator needs to be replaced, we offer full replacement and professional installation services for new units. In one case, an older unit needed parts that were hard to find and costly, and by the time we added labour and parts, it was about the same price as a new, quiet InSinkErator with warranty.
Warranty: We stand behind our repair work with a clear workmanship guarantee.
A unit that is leaking from the body or has a burned-out motor rarely gets cheaper to keep alive the longer you wait.
Repair Cost Versus New Unit Cost
We walk you through the numbers so you get clear options and can choose what makes the most sense for your budget and your home.
Upgrading To A Quieter, Better Garburator
If you are tired of a noisy, weak builder grade unit, we can help. We have extensive experience upgrading garburators in older homes, and in many homes, upgrading to a better unit makes the kitchen much more pleasant to use.
Builder Grade Versus Higher End Models
We see a lot of cheaper units with problems. Higher end models usually use stainless steel internal parts, better motors and better sound insulation. They cost more up front but often cost less over time.
What We Usually Have In Our Service Van
To speed up repairs we carry a range of common parts. If the motor or body is gone, we normally replace the whole unit instead of trying to rebuild it.
The "Dead" Garburator That Was Not Dead
In a condo, the owner was sure their garburator had died. No sound, no movement. After testing, we found there was no power coming through the wall switch. The electrician replaced the switch and the garburator came back to life.
The Hidden Leak That Ruined A Cabinet
We were called to a home where the owner kept finding water under the kitchen sink. The garburator was very old and rusted at the drain neck. It only leaked when the unit was running, so the leak had gone on for a long time. The cabinet floor had swelled and rotted and needed replacement.
The Garburator That Hummed But Would Not Spin
A customer called about a garburator that just hummed. No grinding. We shut off power, freed the jam with the proper tool from the bottom, and found fibrous food and a small metal object wedged in the chamber. After clearing it, we checked the motor, ran it under load and confirmed it was still strong.
Brands We Commonly Repair






Old Unit Versus New Unit, Saving Money Long Term
Another customer had a very old unit that could have been repaired with special order parts. The cost of parts plus labour was close to the price of a new, higher quality unit with warranty. We laid out both options.
They chose a new InSinkErator, got a quieter and more powerful garburator, and stopped worrying about the old one failing again.
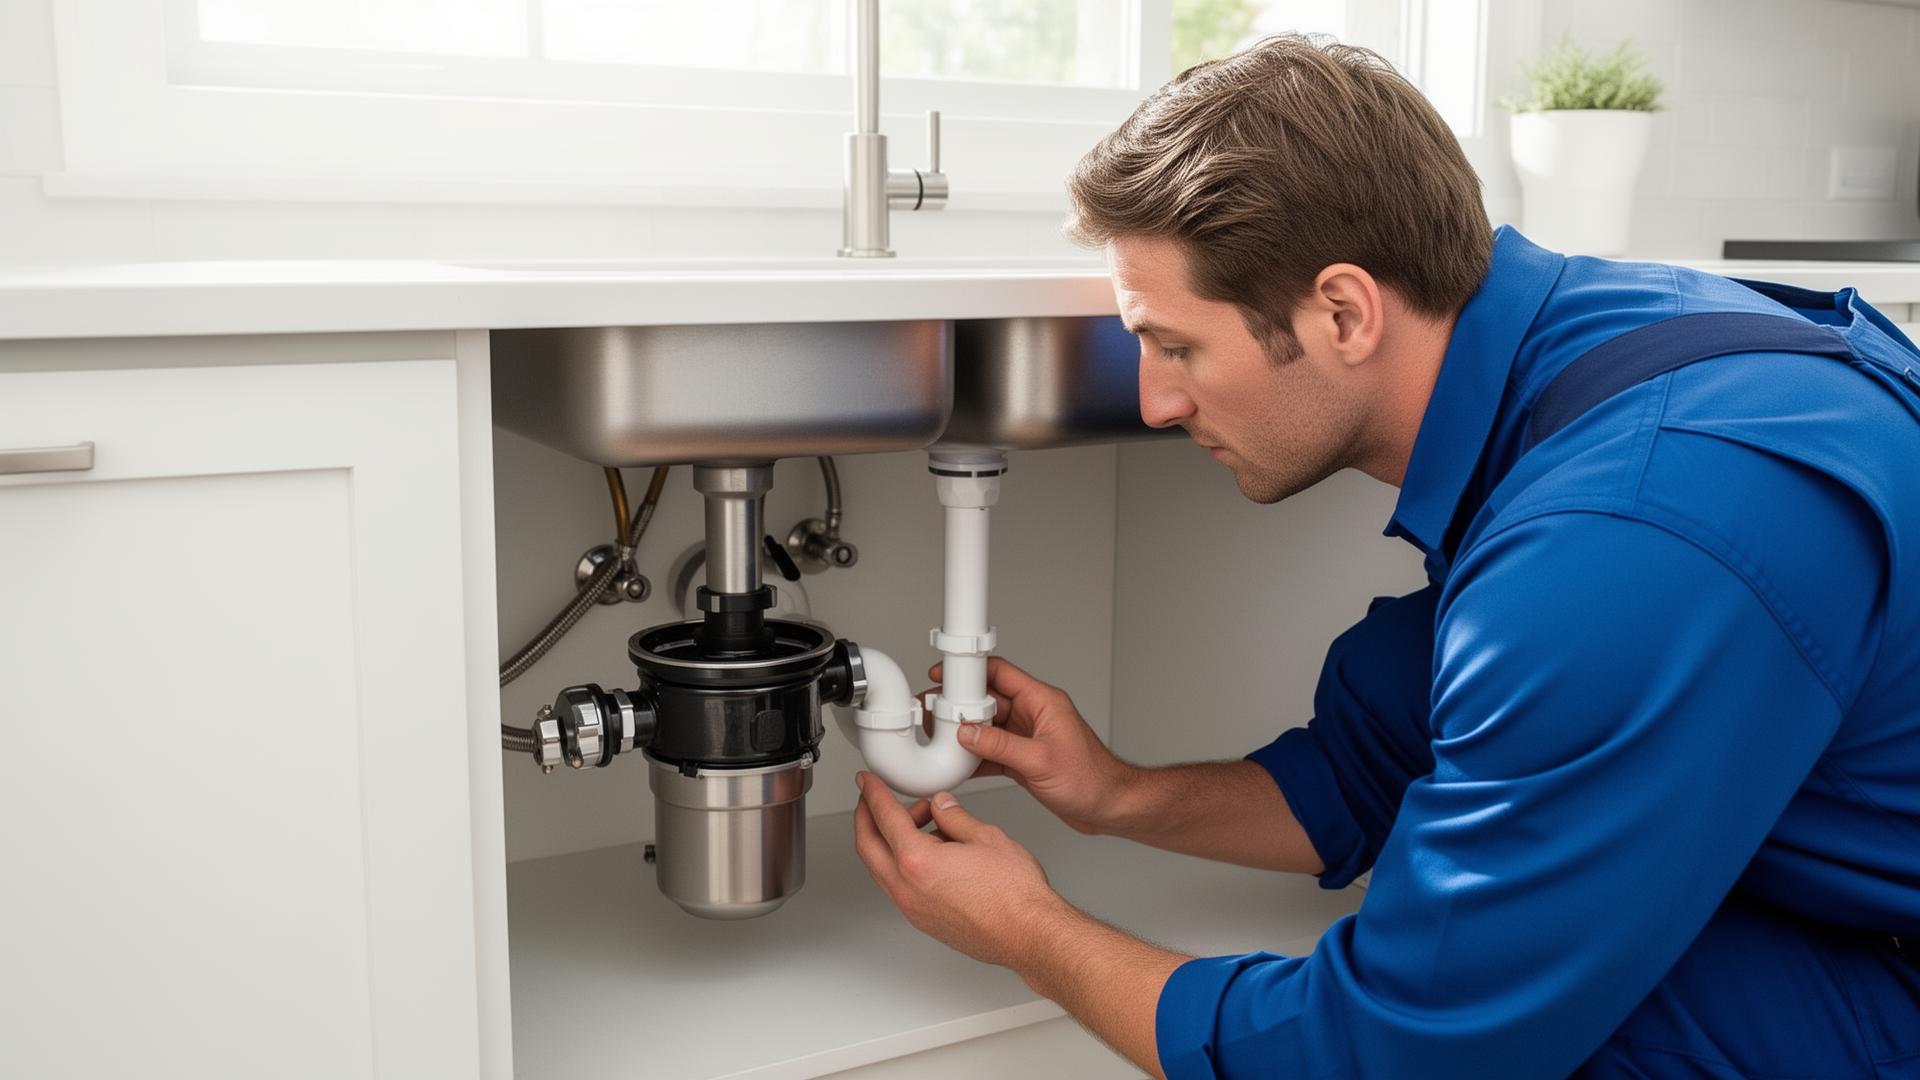
Protecting Your Floors, Cabinets And Counters
Before we start, we take steps to protect your kitchen. We treat your kitchen like it is our own.
Controlling Water And Mess
The goal is to fix your problem, not create a new mess.
Leaving The Space Clean
We wipe the inside of the cabinet. We clean up the area around the sink. We invite you to look everything over before we leave. You are not left with puddles, tools or garbage under the sink.
How To Use Your Garburator After Repair
Simple rules so you do not need to call us back for the same problem.
Taking proper care of your disposal unit is essential to prevent future issues and prolong its lifespan. Regular maintenance can help prevent clogs and keep the disposal running efficiently.
To keep your garburator in top shape, clean it regularly by grinding ice cubes and citrus peels. Always use cold water while running the disposal to help solidify grease and fat for easier grinding and to prevent clogs.
The Do's
Grinding ice cubes in the disposal can help sharpen the blades and remove small food particles. Garburators should be cleaned regularly by grinding ice cubes and citrus peels to prevent bad odors and maintain blade sharpness.
The Don'ts
Showing You The Reset Button And Basic Troubleshooting
Before we leave, we can:
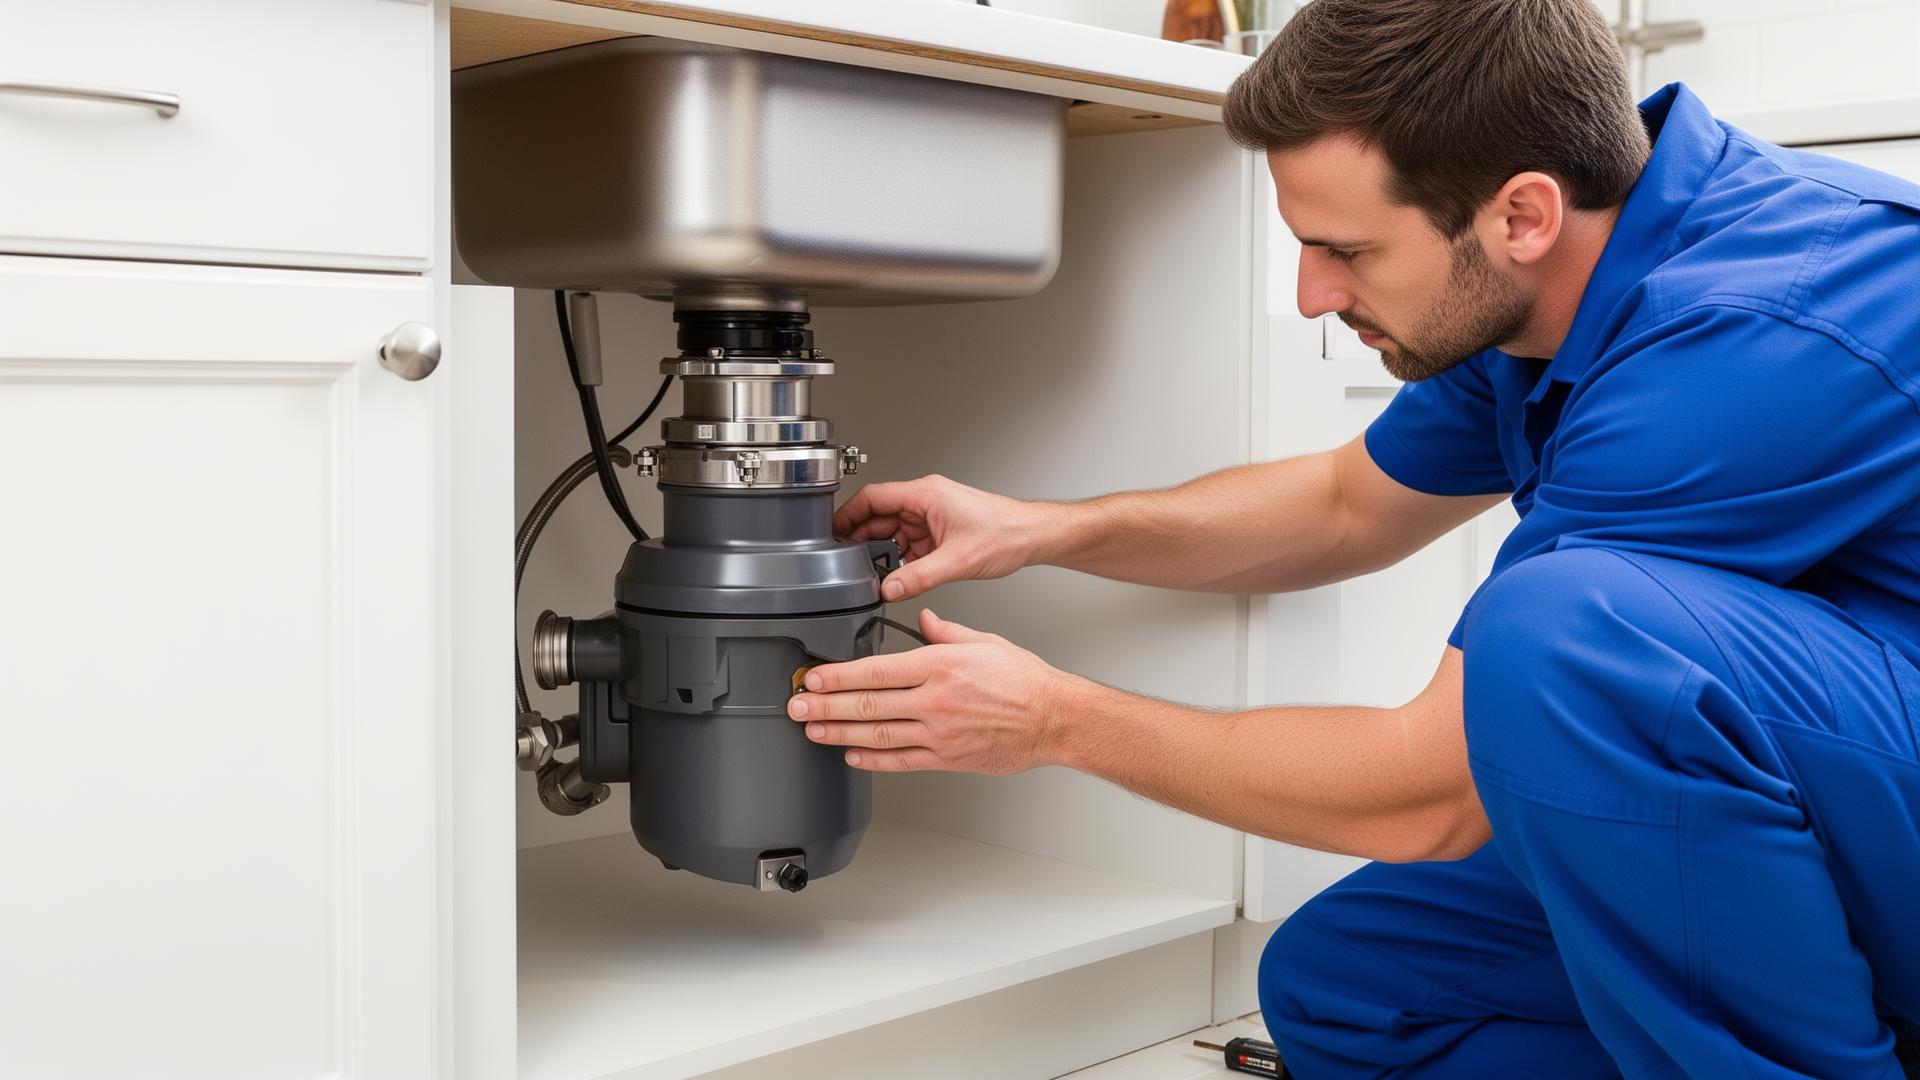
A garburator, also known as a garbage disposal unit, is a convenient kitchen appliance but can sometimes run into problems. Common issues with garburators typically involve jams, power failures, or leaks, which can often be resolved with simple DIY repairs. If you have a question about your garburator, we're here to help.
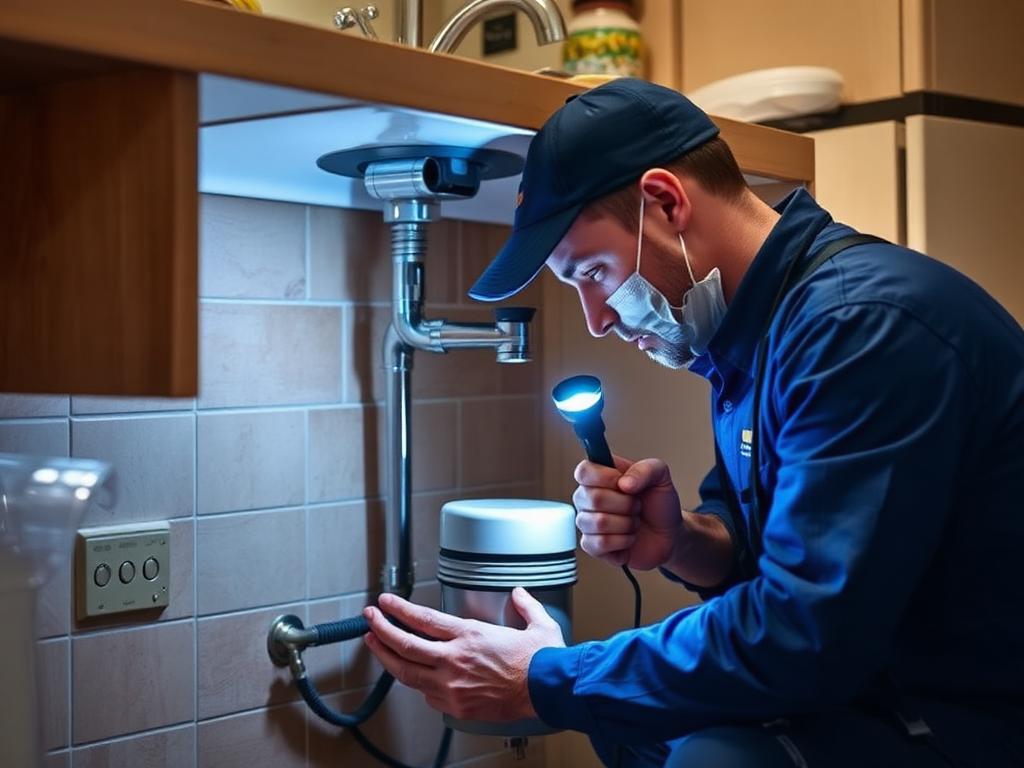
Garburator Repair FAQs
Get a Free Quote Today
Fill out the form below and one of our team members will contact you within 2 hours during business hours.
Why Request Service Online?
Fast Response
We respond to all online requests within 2 hours during business hours.
Upfront Pricing
Receive a detailed quote before any work begins—no surprises.
Flexible Scheduling
We'll work around your schedule to find a time that works for you.
Plumbing Services Service Areas
We proudly provide plumbing services in:
Book Your Garburator Repair Today
Get your sink and kitchen back to normal. A failing garburator is easy to ignore at first, but small problems can quickly turn into backed up sinks, bad smells and water damage.