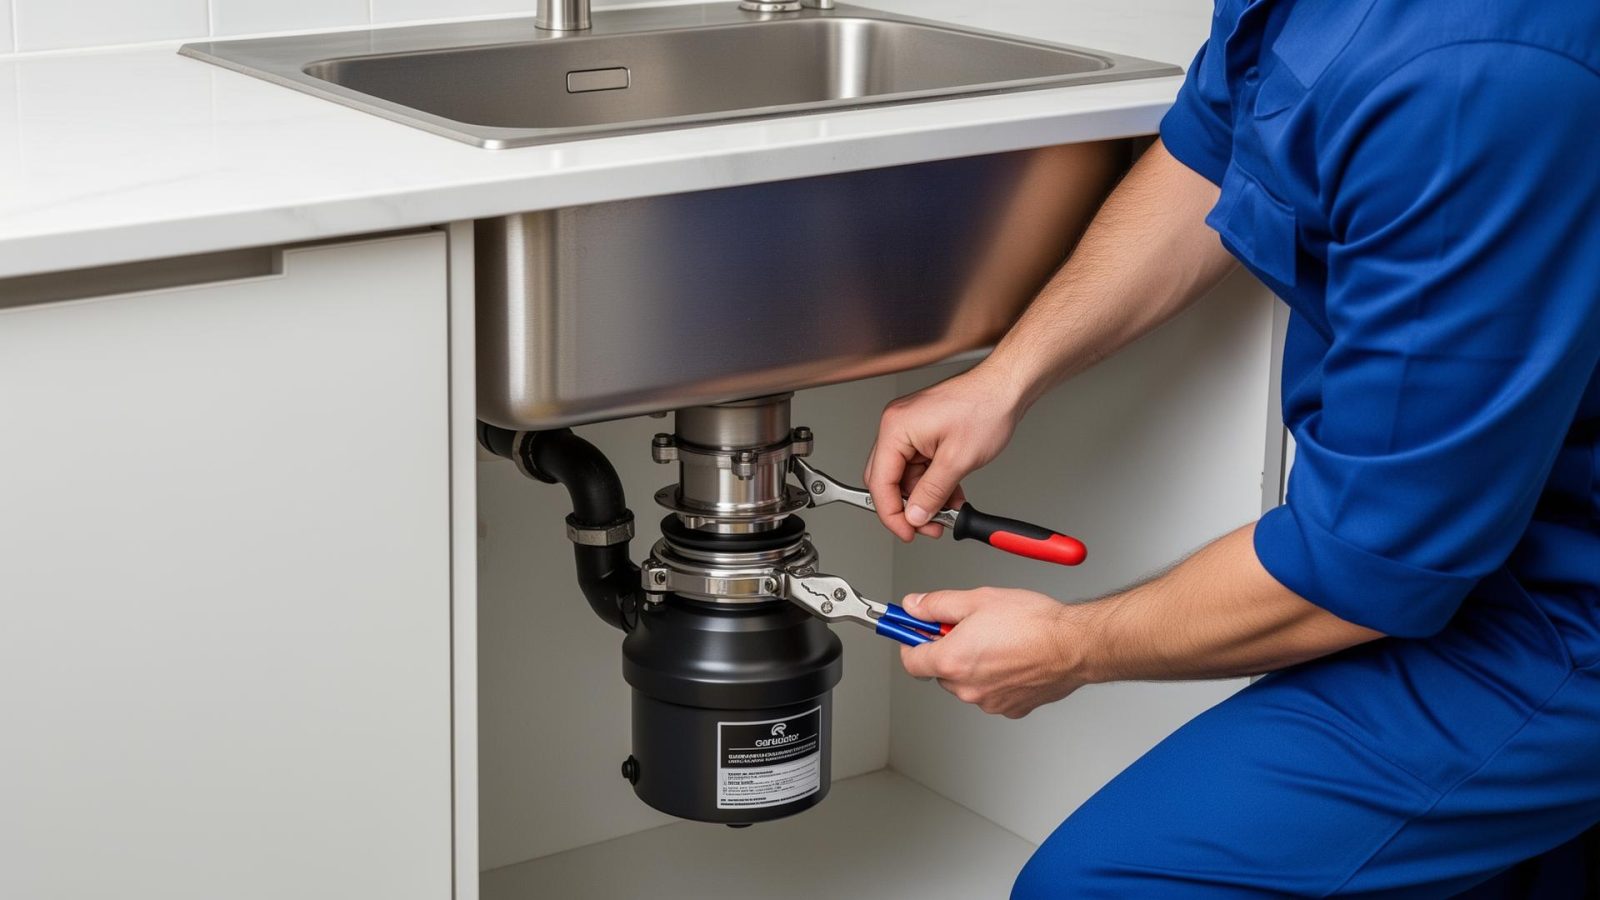
Garburator Installation
Over 30 years of experience installing garburators. Red Seal Certified with upfront pricing and workmanship guaranteed.
Garburator Installation Services
A good garburator should make life easier, not add new problems under your sink. DJ Plumbing & Heating Service has been installing garburators and rebuilding under-sink plumbing for over 30 years, and we've seen just about every way these things can be done wrong, and how to fix them properly. Our licensed plumbers provide reliable service tailored to your needs, ensuring every installation is handled by experienced professionals.
If you want a clean, safe install that actually lasts, you're in the right place. Professional installation by licensed plumbers ensures safe, reliable, and efficient operation of your garbage disposal.
When A Garburator Makes Sense
A new garburator is a good fit if you: A garburator helps reduce kitchen waste by grinding food scraps into small particles that are easily flushed down the drain, making kitchen waste management more efficient. It's a simple upgrade that can make day-to-day kitchen life smoother, as long as the plumbing and electrical setup can support it.
When We Don't Recommend Installing One
There are situations where we'll tell you straight up that a garburator is a bad idea:
Why Homeowners Choose Us
Red Seal Certified
Licensed journeyman plumbers with over 30 years of experience
On-Time & Clean
Text alerts, drop cloths, booties, and full cleanup included
Guaranteed Work
Flat-rate pricing upfront with a workmanship guarantee
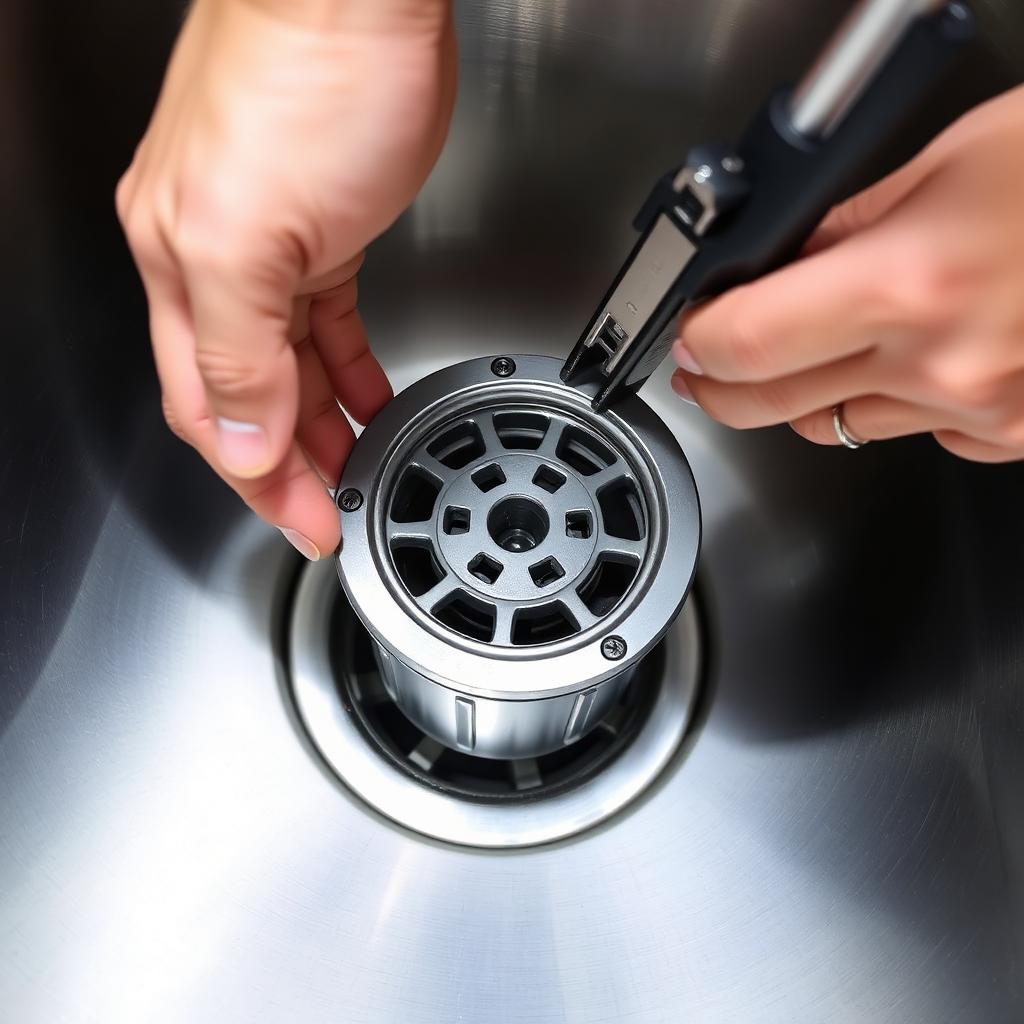
Choosing The Right Garburator For Your Kitchen
If a garburator is going to give you more headaches than help, we'd rather say no and help you with a better solution than just "sell the job."
How Much Horsepower Do You Really Need?
1/3 HP
- Light use, one person, very soft scraps
- Not recommended for most homes
1/2 HP
- Small households with basic use
- Handles general soft food scraps
- Minimum we recommend in most cases
3/4 HP
In most kitchens, 3/4 HP ends up being the sweet spot: strong enough to be useful, quiet enough that you're not shouting over it.
- Great for most families
- Quieter, stronger, less jamming
- Good balance of power and price
1 HP
- Larger families or serious home cooks
- Handles tougher waste more easily
- Often comes with better sound insulation and stainless parts
Brands We Trust And Install Regularly
Over the years we've learned which brands hold up and which ones don't. Units we often recommend and install include: We keep common, proven models on the truck so we can install or replace a unit in one visit in many cases. If you already bought a specific model, we can install that as well, as long as it's safe and suitable.



What We Don't Like To Install
We are careful with: If we think a particular unit or setup is going to cause trouble, we'll tell you why and give better options.
How We Install A Garburator The Right Way
A proper install is more than hanging a new unit and hoping for the best. We treat it like a small remodel under the sink.
Garburator installation includes proper plumbing and electrical connections, as well as thorough leak testing. Local plumbing experts understand the unique plumbing systems in their service areas, ensuring a proper fit and function.
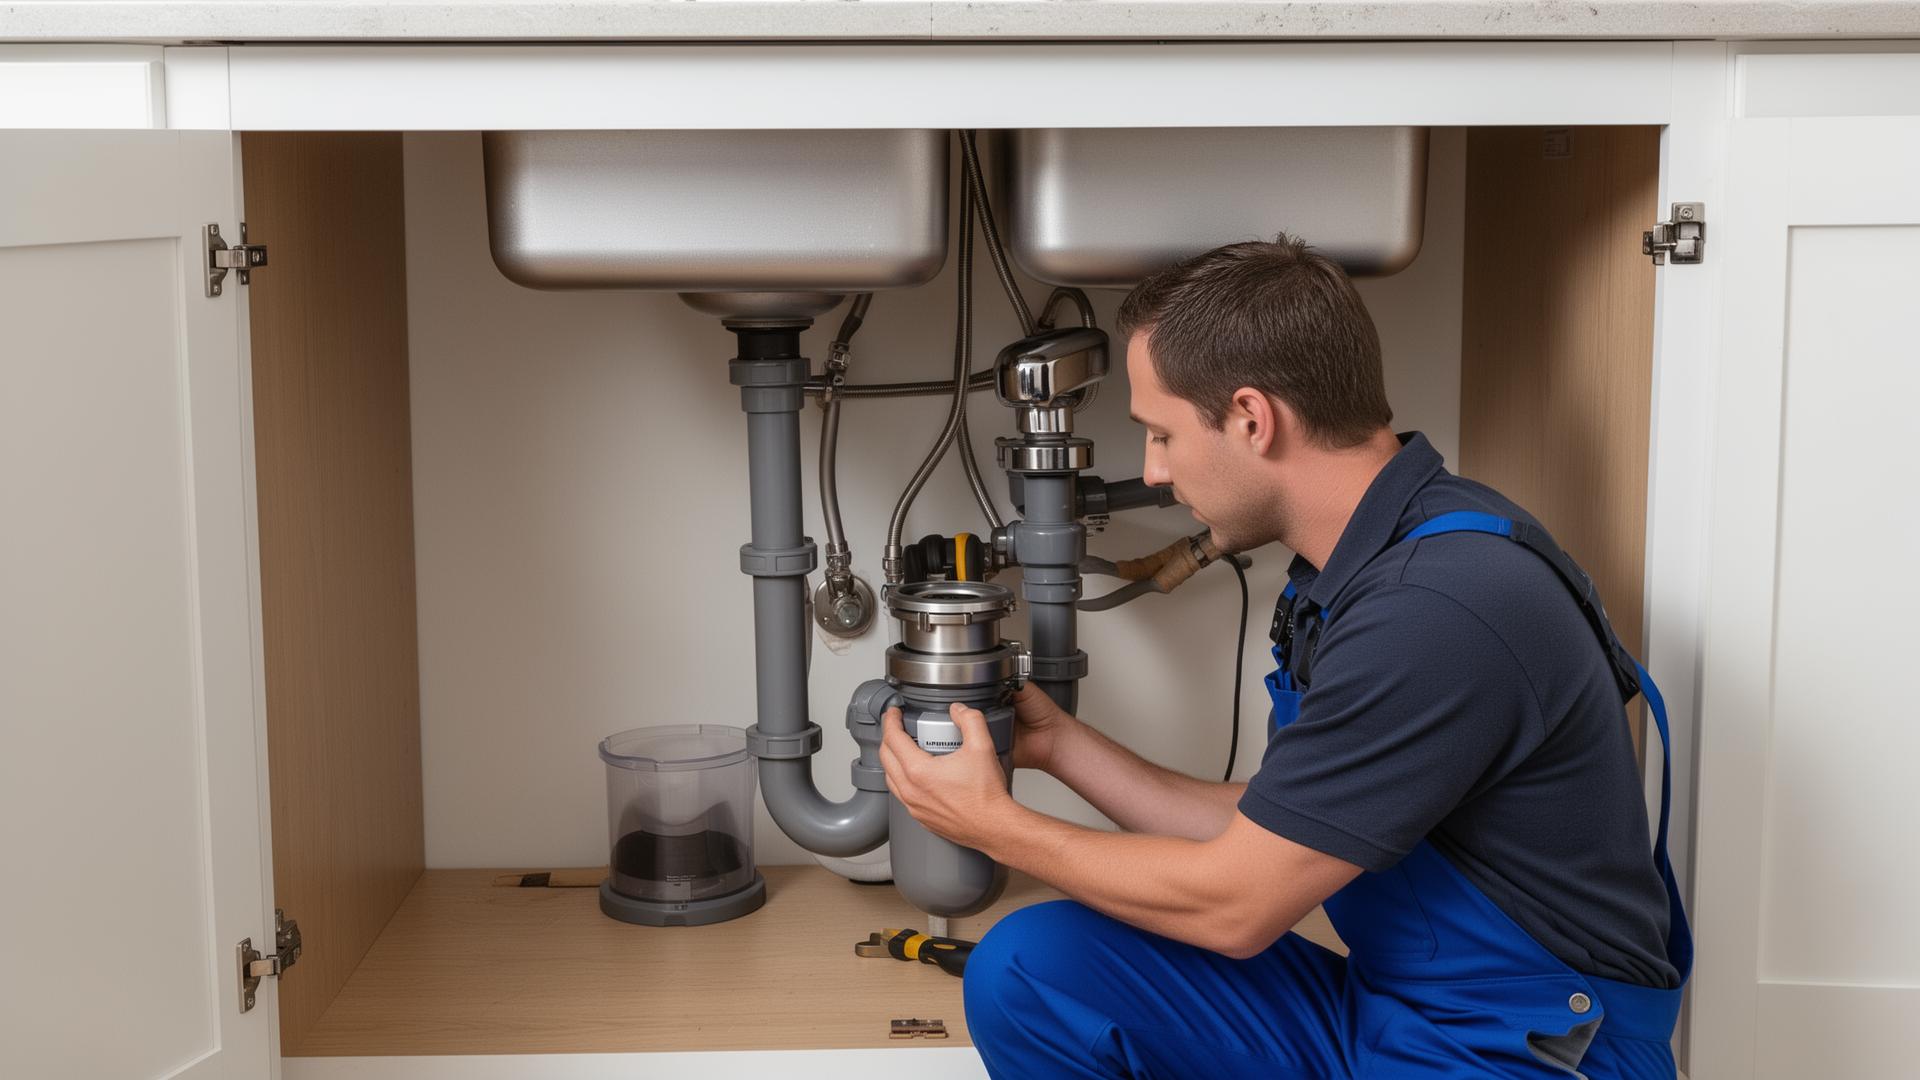
How We Install A Garburator The Right Way
Before we touch anything, power is shut off at the breaker and verified. If new wiring or a dedicated circuit is needed, we'll point that out and coordinate with a qualified electrician if you don't already have one.
- Turn off the electricity at the circuit breaker before starting any garburator installation
- Read and understand the entire safety and installation instructions included with your garbage disposal model
- Power is shut off at the breaker and verified
- We check the outlet and circuit the garburator will run on
- We confirm if it's safe to share a circuit with the dishwasher or if the load is too high
- GFCI protection is used where required
- Continuous feed disposals require an electrical switch to operate; the switch must be properly installed and connected to a power outlet
A lot of leaks start at the sink itself, not the unit. We install a new flange and gasket that comes with the new unit, applying a 1/2" thick band of plumber's putty around the ring and pressing it into place for a watertight seal. If the flange isn't done right, you'll end up with slow drips and swollen wood in the cabinet. We don't leave that to chance.
- Remove the old flange, clean the sink surface thoroughly, and remove any old plumber's putty from the drain opening back to bare metal or porcelain
A loose garburator will rattle, walk itself out of position, and strain the pipes. A loose mounting ring and gasket can cause the unit to vibrate excessively and leak, so careful alignment is critical to prevent future issues. We also listen for vibration and check for movement once it's running.
- Slide and insert the unit into the mounting assembly, carefully aligning the three tabs, then use the lower mounting ring to lock it in place
- Use a flathead screwdriver to secure the snap ring or mounting components as needed
- Attach the unit securely and tighten the mounting ring screws evenly and firmly, but do not over tighten them
- Lock the unit into the mount fully, using the proper tool for a firm final twist
- Make sure the weight of the garburator is supported properly, not pulling down on the trap
This is where many bad installs fall apart. We've been called to jobs where the outgoing pipe was above the garburator outlet, meaning waste was literally supposed to run uphill. Those are the kinds of mistakes we fix when we install a new unit.
- The discharge from the garburator flows downhill into the P-trap
- The trap has the right depth to stop sewer smells
- The wall drain and trap heights actually make sense together
- The drain trap is properly configured and sealed to prevent leaks
- Old, brittle or poorly glued fittings are replaced, not reused out of laziness
You have a few options for how you turn the garburator on. We'll look at your layout and talk through what makes the most sense for your kitchen.
- Wall switch – standard for many kitchens
- Countertop air switch – great for islands and for safety with wet hands
- Batch-feed units – turn on when a special stopper is locked in place
You get a working, tested system and a clean kitchen, not a mess of parts left behind.
- Run cold water and test the unit under normal use
- Check for leaks at the flange, dishwasher port, discharge tube, and P-trap
- Listen for unusual noise or vibration
- Wipe down the sink area and clean up the cabinet and floor
Before We Arrive
When you contact us, we'll usually ask: That helps us show up with the right gear and give you an accurate price before any work starts.
On-Site Visit Step By Step
Quick walk-through and inspection of the sink, plumbing, and electrical
Clear explanation of the options and price
Removal of the old unit if there is one
New flange, mount, and garburator installed. Our technicians expertly install a garbage disposal as part of our comprehensive disposal installation service
Trap and drain reconfigured as needed
Full testing and cleanup. You know what we're doing and why at every step.
How Long Does Garburator Installation Take?
Most straightforward replacements take around one to two hours.
If it's a first-time install, the old plumbing is a mess, or the drain needs to be re-built, it can take longer. We'll tell you up front where your job fits.
Same-Day Installation Options
Because we keep common units on the truck, we can often do the job in one visit. You don't have to run to the store, guess which model fits, and then call us back later.
Common Installation Mistakes We Fix (And Help You Avoid)
We see the same problems over and over again when a handyman or rushed installer did the work. When we install a new garburator, we correct these issues instead of building on top of them. That's the difference between "it works today" and "it still works years from now." Proper garburator installation helps prevent the need for future repair and ensures reliable operation.
From Loud And Weak To Quiet And Strong
One homeowner called us because their old builder-grade garburator was so loud they had to pause conversations every time they ran it. It also jammed on anything tougher than soft leftovers. We swapped it out for a better 3/4 HP unit with sound insulation and stainless internals, rebuilt the trap so the flow actually made sense, and showed them what they should and shouldn't put down the drain.
Fixing A Dangerous DIY Setup
On another job, a customer had a family member "help" install a garburator. The drain was pushed uphill into the wall pipe, and the unit was plugged into a sketchy, non-grounded outlet under the sink. They were dealing with constant clogs and were worried about getting a shock. We removed the bad piping, lowered and rebuilt the drain, installed the new unit properly, and had an electrician put in a safe, grounded outlet.
Saving Money With The Right Recommendation
We've also had situations where a homeowner wanted a garburator, but their system was on septic and their existing pipes were in rough shape. Instead of forcing the install, we walked them through the risks and helped find a better solution.
Do's For A Long-Lasting Garburator
We don't just install and disappear. We make sure you know how to look after it.
Things You Should Never Put Down The Garburator
Avoid: The garburator is for small food scraps, not full plates and not trash.
When To Call A Plumber
Give us a call if you notice: Those are signs something isn't right and needs a proper look.
Pricing, Warranty And Peace Of Mind
Honest Upfront Pricing
We don't use one flat price for every situation. We inspect the setup, explain what needs to be done, and give you a clear price before starting. No surprise add-ons at the end.
Our Labour Guarantee
We stand behind our work. If there's an issue with the way your garburator was installed, we'll come back and make it right. Simple as that.
Quality Units That Are Installed To Last
We prefer solid brands, fresh parts, and proper fittings. It's about doing it once, properly, so you're not dealing with leaks and call-backs.
Why Homeowners Choose DJ Plumbing & Heating Service For Garburator Installation
Here's what sets us apart: We install garburators the same way we'd do it in our own homes.
Garburator Installation FAQs
Get a Free Quote Today
Fill out the form below and one of our team members will contact you within 2 hours during business hours.
Why Request Service Online?
Fast Response
We respond to all online requests within 2 hours during business hours.
Upfront Pricing
Receive a detailed quote before any work begins—no surprises.
Flexible Scheduling
We'll work around your schedule to find a time that works for you.
Plumbing Services Service Areas
We proudly provide plumbing services in:
Ready For A Proper Garburator Installation?
If you want a garburator that's installed properly, runs quietly, and doesn't turn into a constant plumbing problem, bring in someone who does this every day.